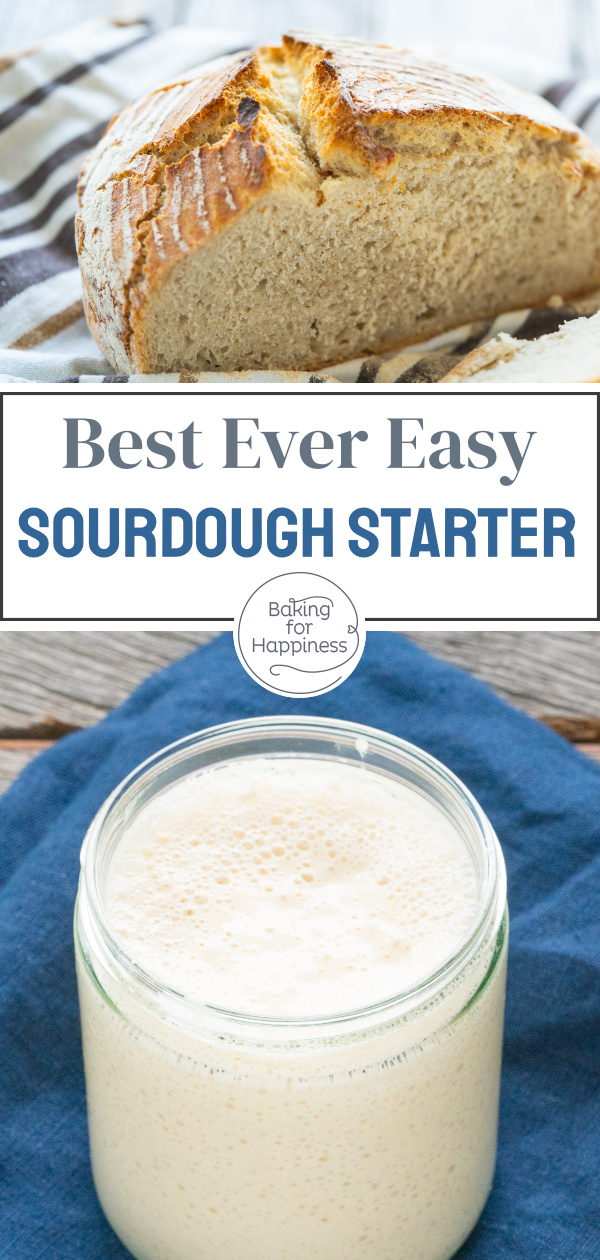
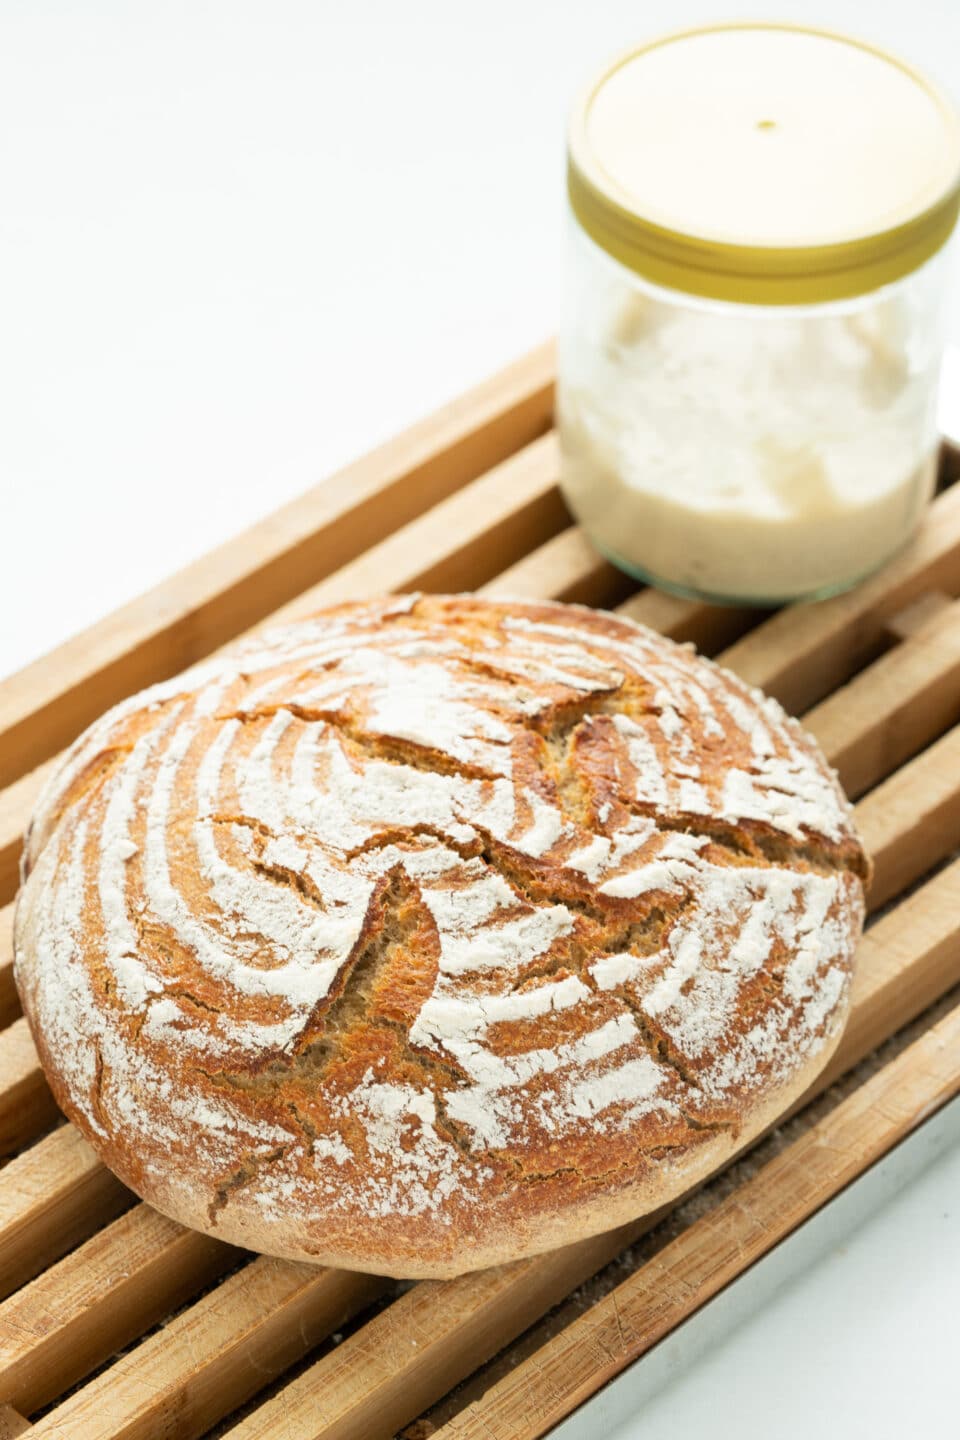
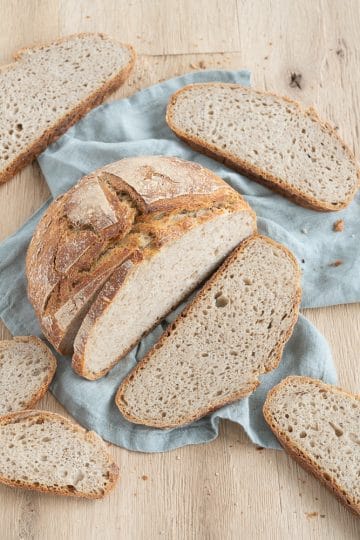
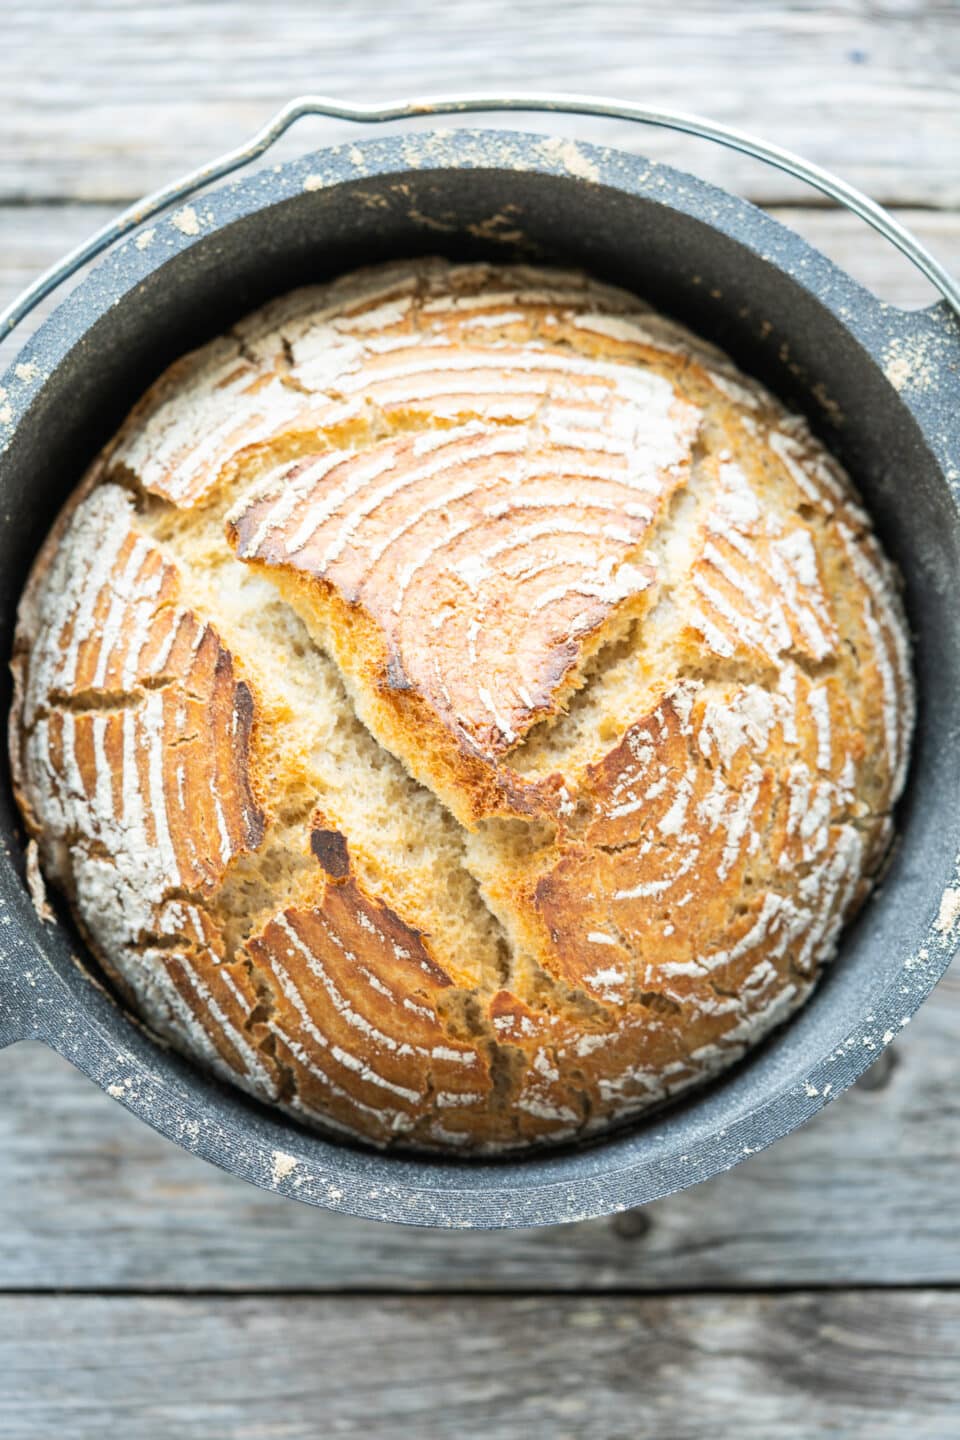
For many hobby bakers, making sourdough is high on the list of things they don't dare to do. It was the same for me for a long time. But then I started - after failures and years of pause - once again an attempt. Because such an all-purpose, spelt or rye bread with sourdough is simply delicious. And with my sourdough instructions for beginners, you can do it too!
Taste and Occasion
Making sourdough sounds simple at first, at least as far as ingredients and preparation are concerned - and yet it is not entirely uncomplicated. I've also read hundreds of recipes, baking books, and blog articles. And afterward, I was even more confused than before. Somehow it all didn't make sense. Everyone describes a different method for the sourdough starter. I had only question marks in my head. I want to spare you this way. In the following, you will find detailed instructions on how to make your own sourdough, including many tips and tricks. Most importantly, don't give up, even if your first attempt may fail. Start again from the beginning. In the best case, a good sourdough starter will accompany you for years. So it's worth the effort.
Ingredients
There are many different ways. However, it is always the same principle: Over several days, a small amount of rye flour is mixed with the same amount of warm water and then left to mature. The procedure takes 3-4 days. However, only a fraction of this is really working time. I use from the 3rd day only a part of the initial mixture. From the finished mixture, you always have a small quantity in the refrigerator so you do not have to start each baking entirely from the beginning. The so-called sourdough starter is fed every week.
You can find the exact steps for the leavening in the recipe. Here are a few general things:
- Work clean: First and foremost, this means using clean glasses and spoons. Otherwise unwanted bacteria can spread, which have no place in sourdough.
- Weigh everything - lukewarm water and flour.
- Pay attention to the right temperature, whether it is the water or the place where the dough matures.
- Keep checking on sourdough despite the approximate times given. They are highly individual. And smells. It is best to start, for example, on Friday or over the weekend or on vacation
- Cover the leavening during the ripening period instead of sealing it airtight.
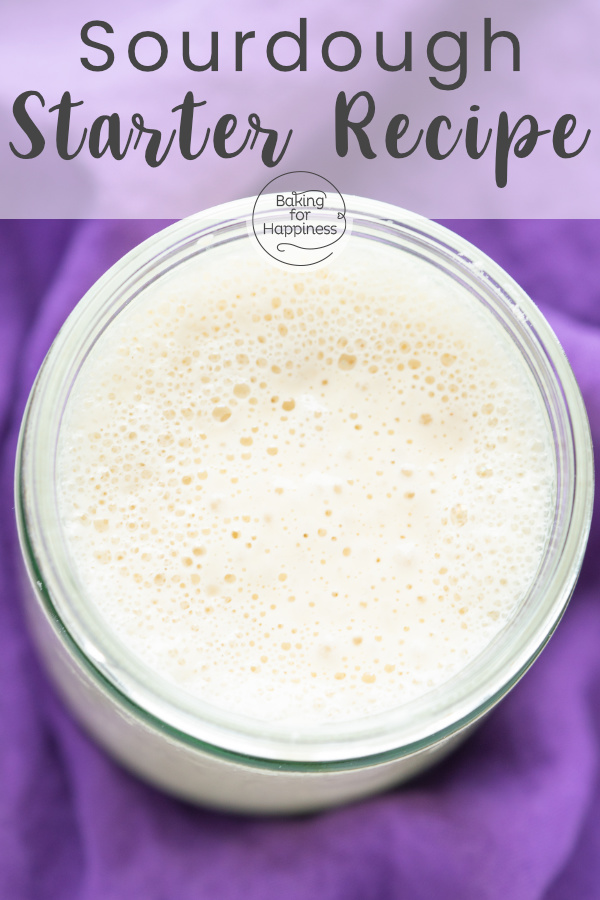
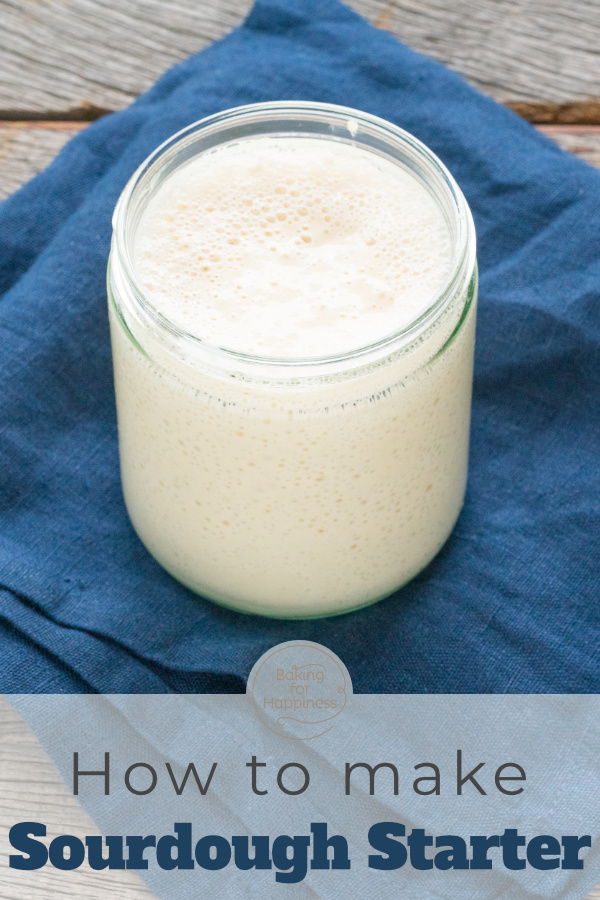
How to make the Sourdough Starter
1st step
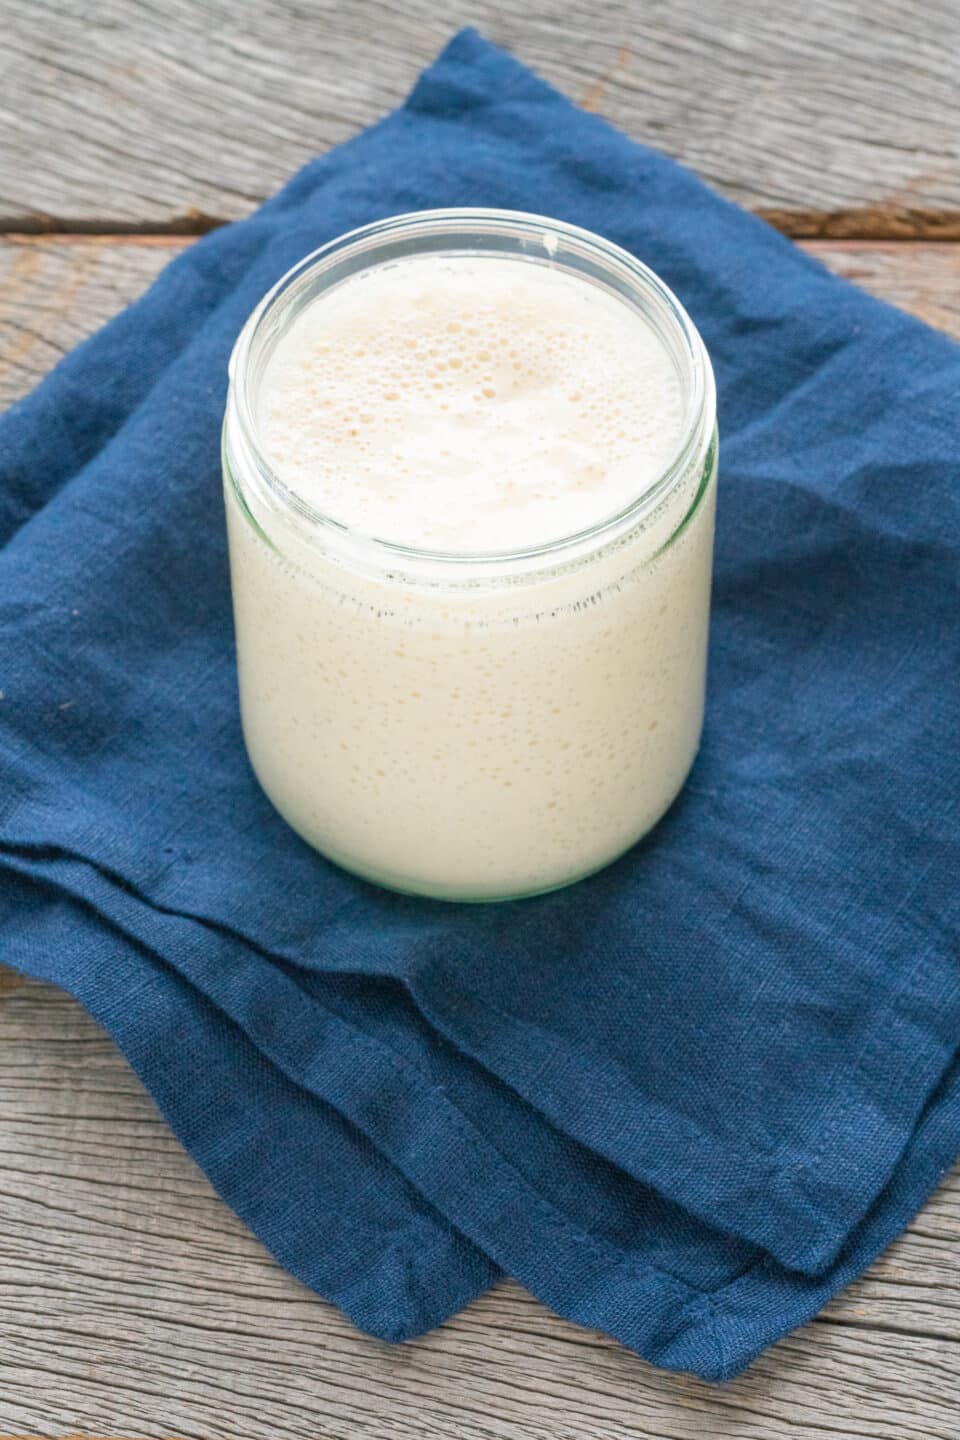
Mix 50 grams of flour and 50 grams of warm water vigorously with a spoon in a large canning jar. If the mixture is extremely solid, use some water. Put the lid of the jar on (do not screw or close with a clamp). Alternatively, cover with cling film. Let mixture mature at about 77-86°F/25-30°C for about 20-24 hours.
2nd step
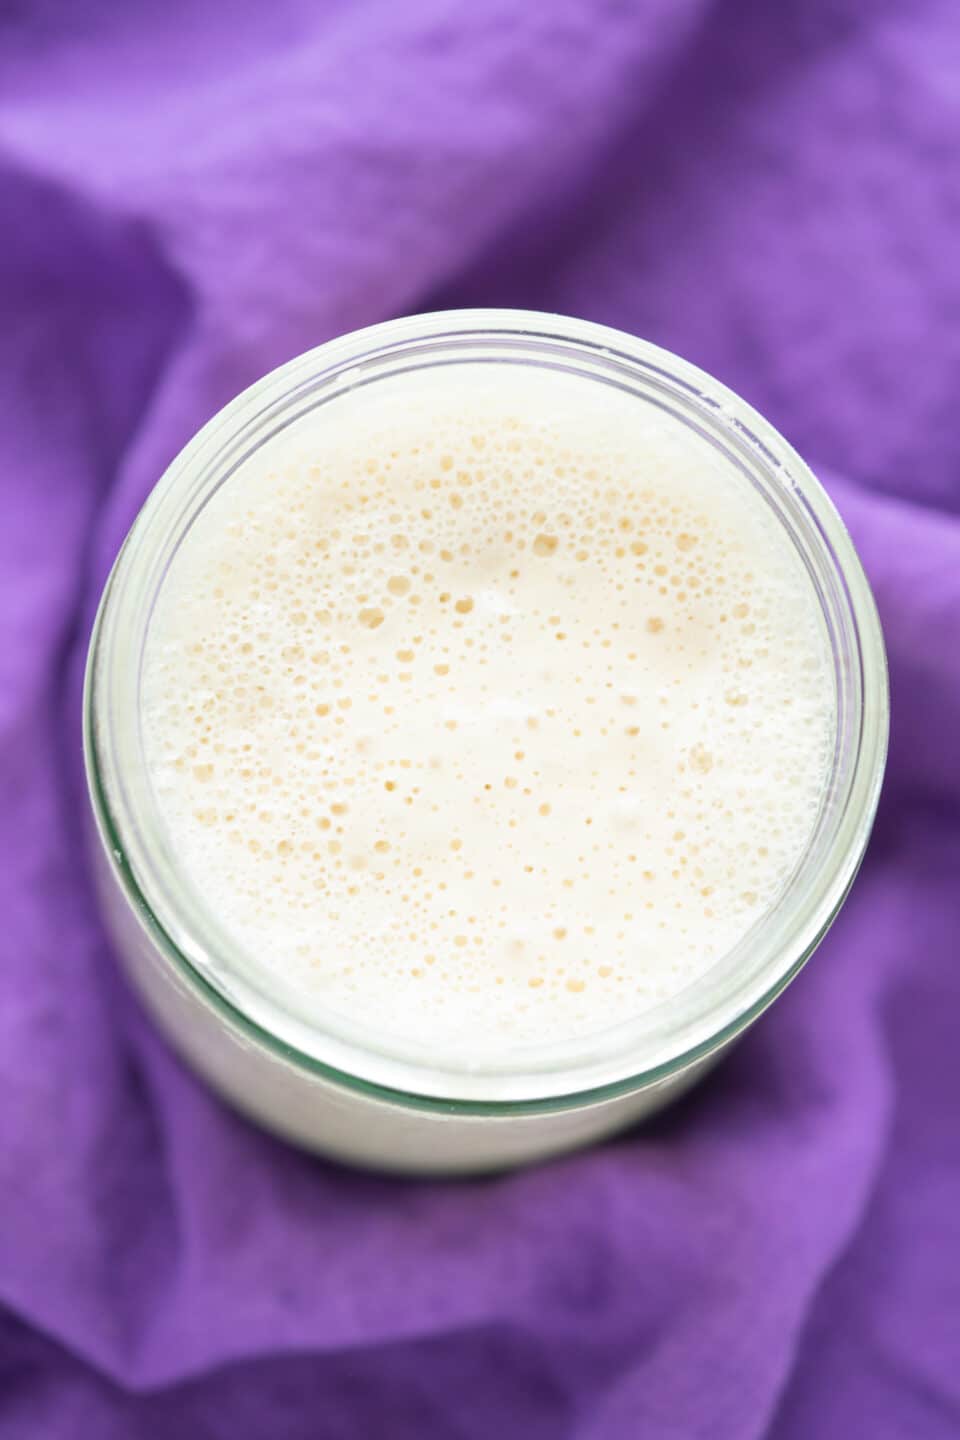
Mix the complete mixture from the 1st step vigorously with another 50 grams of flour and 50-60 grams of warm water. Put the lid on. Cover and let it mature at 77-86°F/25-30°C for about 8-15 hours. How long it takes depends on environmental variables such as room temperature and how the mixture develops: Once it has doubled in volume and is already slightly collapsing, move on to step 3.
3rd step
Mix 50 grams of the mixture from step 2 with 50 grams of flour and 50-60 grams of warm water. Put the lid on. Cover and let it mature at about 77-86°F/25-30°C for about 12 hours. Again, the exact duration depends on how the mixture develops: as soon as it has doubled in volume and is already slightly collapsing, proceed to the 4th step.
4th step
Mix 10 grams of the mixture from step 3 with another 50 grams of flour and 50-60 grams of warm water. Put the lid on. Cover and let it mature at about 77-86°F/25-30°C for about 8-12 hours. The volume should now still increase by about half.
Using the sourdough starter
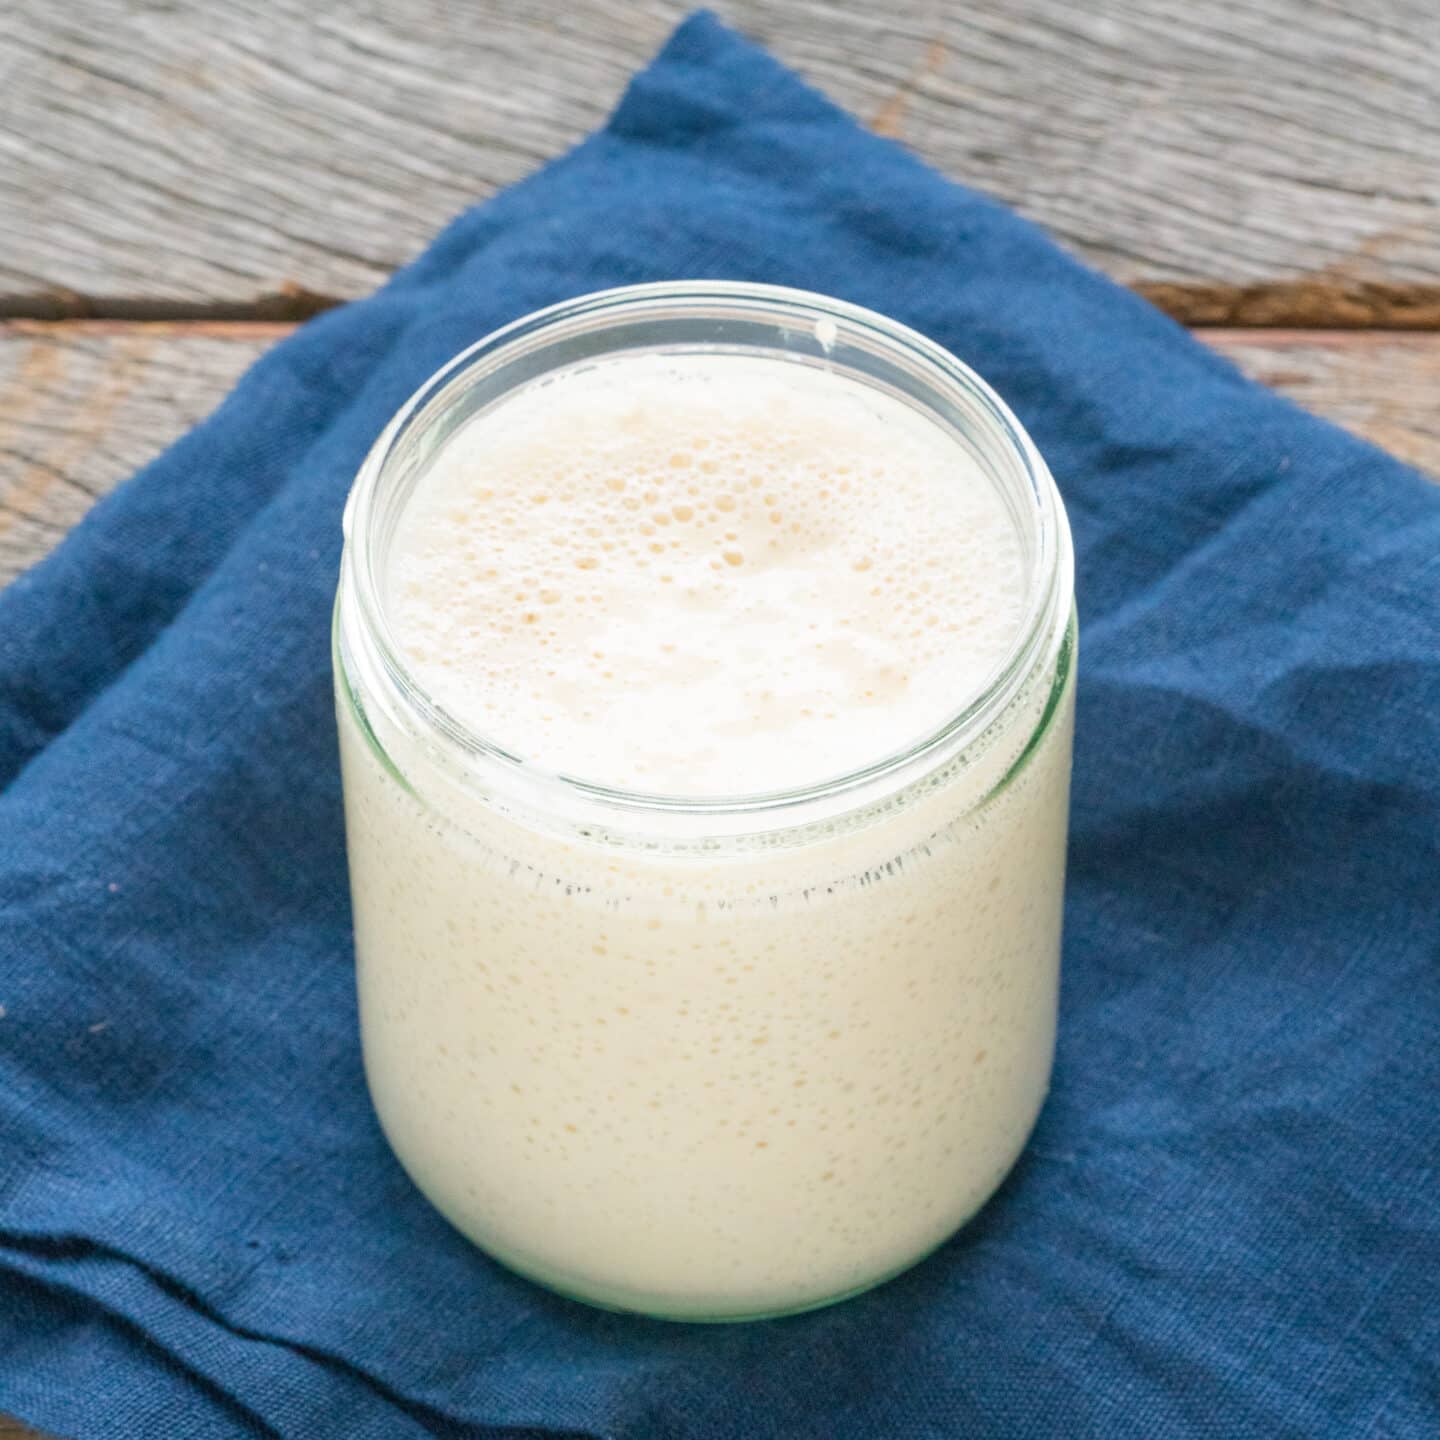
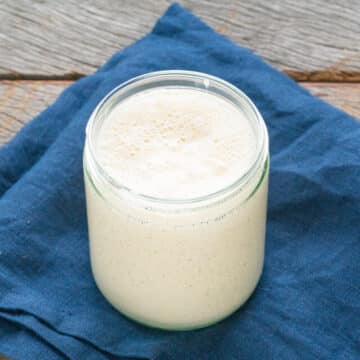
If the mixture smells distinctly sour, the sourdough starter or starter material (about 110 grams in total) is now ready for baking. Otherwise, repeat the 4th step again. For sourdough bread with approx. 500 grams of flour, you will need e.g. 75 grams of starter, depending on the rising time. The first few times, you should add yeast to the dough until the sourdough is strong enough on its own.
Regular feeding of the sourdough
The rest of the sourdough starter (in my example about 30-40g) is stored in a small jar with a lid in the refrigerator and must be "fed" or "refreshed" again and again. To do this, take 10 grams of the sourdough mixture out of the fridge every 7-10 days (the rest can go) and remix it with 50g of flour and 50g of water in a clean, fresh jar.
This mixture is left again 6-12h at ripe, as in the 4th step. Then you take out, for example 75g batch for your bread and store the rest again in the fridge. And keep going like this 🙂 .
Top Tip
Sourdough is just like yeast, a leavening agent. Still, it results in the bread's different taste and shelf life. Especially at the beginning, you should add some yeast to the dough (not to the sourdough) as long as the mixture is still very young. Very important: However, it is always sourdough without yeast.
Making sourdough has long ripening times. Since you can't give exact hours, you should start the whole thing e.g. on a long weekend, on vacation, or when you are at home anyway.
The most common is rye sourdough with wholemeal rye flour. However, all-purpose flour or spelt flour can also be used. However, you should always choose flour with a high type or wholemeal.
There are special fermentation boxes etc., but I usually put the jar in the oven with only the oven lamp on (or maximum 86°F/30°C); or under a lamp. That way, it is a relatively constant warm place.
Then it's bad - and you have to start all over again.
It hits the dough's rising time. I usually use 75 grams, but there are also recipes with 10g (like our spelt sourdough bread) or 150g.
I admit it: I throw them away in a freezer bag, for example. Theoretically, however, you can also add them to other doughs, use them dried for breading, or the like. I have not tested both yet.
Even if you don't want to bake: regularly. The more often, the better. I do it once a week and have a calendar entry in my phone for that. Refreshing must be done the day before the baking day.
Either ask a neighbor to take care of it or give the dough a few refreshes after 2 weeks before using it. However, I hear some people take sourdough with them on vacation.
Unfortunately, "imperfect" bread can happen sometimes, especially in the beginning. That's part of it. Your sourdough may still be too young and, therefore, not strong enough. In the beginning, you should add some yeast to the bread dough. With each refreshing, the sourdough becomes stronger to work alone at some point.
If you have any questions, please read the already-answered comments first.
Recipe Card
Sourdough Starter
Ingredients
1st step
- 50 grams (½ cup) rye flour type 1150
- 50 grams (3 ⅓ tablespoons) water, about 99°F/37°C, up to 60g
2nd step
- 50 grams (½ cups) rye flour type 1150
- 50 grams (3 ⅓ tablespoons) water, approx. 99°F/37°C, up to 60g
- 100 grams (⅖ cup) sourdough starter, from 1st step
3rd step
- 50 grams (½ cup) rye flour type 1150
- 50 grams (3 ⅓ tablespoons) water, approx. 99°F/37°C, up to 60g
- 50 grams (3 ⅖ tablespoons) sourdough starter, from the 2nd step
4th step
- 50 grams (½ cup) rye flour type 1150
- 50 grams (3 ⅓ tablespoons) water, approx. 99°F/37°C, up to 60g
- 10 grams (¾ tablespoon) sourdough starter, from the 3rd step
Instructions
Step 1
- Thoroughly mix 50 grams flour and 50 grams warm water in a large mason jar with a spoon. If the mixture is extremely firm, use about 10g more water (so 60g total). Place the lid on the jar (do not screw it on or close it with a clamp); alternatively cover with cling film. Let the mixture ripen at about 25–30°C for around 20–24 hours.
Step 2
- Thoroughly mix the entire mixture from step 1 with another 50 grams flour and 50–60 grams warm water. Place the lid on top. Let it ripen, covered, at about 25–30°C for around 8–15 hours. How long it takes for you depends on environmental variables such as room temperature and on how the mixture develops: as soon as it has doubled in volume and is already starting to collapse slightly again, move on to step 3.
Step 3
- Mix 50 grams of the mixture from step 2 (the rest is not needed and can be discarded) with 50 grams flour and 50–60 grams warm water. Place the lid on top. Let it ripen, covered, at about 25–30°C for around 12 hours. Here too, the exact duration again depends on how the mixture develops: as soon as it has doubled in volume and is already starting to collapse slightly again, move on to step 4.
Step 4
- Mix 10 grams of the mixture from step 3 (the rest is not needed and can be discarded) with another 50 grams flour and 50–60 grams warm water. Place the lid on top. Let it ripen, covered, at about 25–30°C for around 8–12 hours. The volume should now increase by about half again.
Using the sourdough starter (Anstellgut)
- When the mixture smells distinctly sour, the sourdough starter / Anstellgut (about 110 grams in total) is now ready for baking. Otherwise, repeat step 4 once more. For a sourdough bread with about 500g flour, you need, depending on proofing time, e.g. 75 g starter. The first few times, you should also add yeast to the dough until the sourdough alone is strong enough to leaven.
Regularly feeding the sourdough
- The remaining sourdough starter (in my example about 30–40g) is stored in a small jar with the lid placed on top in the refrigerator and must be “fed” or “refreshed” again and again. To do this, every 7–10 days take 10 grams of the starter from the refrigerator (the rest can be discarded) and mix it again in a clean fresh jar with 50g flour and 50g water.
- Let this mixture ripen again for 6–12 hours, as in step 4. Then take, for example, 75g starter for your bread, store the rest back in the refrigerator. And keep going like this.
Notes
- Making sourdough involves long ripening times. Since you can’t give exact hour specifications, you should start the whole thing, for example, on a long weekend, on vacation days, or when you’re at home anyway.
- The right temperatures are extremely important – not too cool, not too hot. You can measure the water temperature with a thermometer, and ideally the place for ripening as well. Once you have experience, you can also do it by feel.
- In winter, you can let the sourdough ripen, for example, near a heater (if it runs constantly and doesn’t switch off at night) or in the laundry basement. Otherwise, for example, put it in the oven with only the oven light switched on. Sometimes I put it on our (warm) server. But watch out: also place the sourdough jar on a plate – it can overflow quite a bit.
- How much additional yeast you need the first few times is very individual and also depends on the ripening time and the specific recipe for the bread dough. I use, for example, 1–2g instant dry yeast and reduce the amount little by little.
Ingredient substitutions
Variations
The correct temperatures are critical - not too cool, not too hot. You can measure the water temperature with a thermometer and the place for maturing. If you have experience, you can also do it by feeling.
In winter, you can let the sourdough ripen e.g. near a heater (if this heats constantly and does not switch off at night) or in the laundry cellar. Otherwise, put it in the oven with only the oven light on. I sometimes put it on our (warm) server 😉 But beware: put the sourdough jar on a plate in addition - it can overflow quite a bit.
How much additional yeast you need for the first few times is very individual and also depends on the ripening time or the specific recipe for the bread dough. I take e.g. 1-2g dry yeast and reduce the amount gradually.
I hope to encourage you with this sourdough tutorial to give it a try! I'm certainly no professional. And it still works wonderfully. Please read through the already answered comments if you have any unanswered questions. By the way, supposedly, every sourdough needs a name. Mine does not have one yet - although I have really grown fond of him 😉 Every week, there are at least 1-2 times freshly baked bread in our house.